Hook: Ever spent hours crafting the perfect brow, only for it to melt off under sweat, rain, or tears? Yeah, us too. Let’s fix that mess.
In today’s guide, we’ll dive deep into mastering anti smudge brow techniques—the holy grail of waterproof makeup. You’ll learn how to choose the right products, apply them like a pro, and keep those brows intact no matter what life throws your way.
Table of Contents
- Why Anti Smudge Brows Matter
- Step-by-Step Anti Smudge Brow Tutorial
- Best Practices for Long-Lasting Brows
- Real-Life Examples of Flawless Anti Smudge Brows
- FAQs About Anti Smudge Brows
Key Takeaways
- Picking the right waterproof brow products is crucial for achieving an anti smudge finish.
- Layering techniques can make all the difference in locking your brows in place.
- Avoid common mistakes like skipping primer or over-applying product.
- Use setting spray strategically to seal everything in place.
Why Anti Smudge Brows Matter
Confession time: Once, I applied my favorite brow pencil before heading out on a humid summer day. Within minutes, I looked in the mirror, horrified—my once-sharp arches had morphed into panda eyes. #BrowFail.
Your eyebrows frame your face, so when they start fading or smudging, it’s not just annoying—it’s confidence-crushing. That’s why creating an anti smudge brow look is essential, especially if you’re dealing with water, oil, or high temperatures.
Sadly, many people still rely on non-waterproof products, which are chef’s kiss at ruining photoshoots, workouts, and emotional moments alike. It’s time to level up!
Step-by-Step Anti Smudge Brow Tutorial
Optimist You: “Let’s create budge-proof brows!”
Grumpy Me: “Ugh, fine—but only if coffee’s involved.”
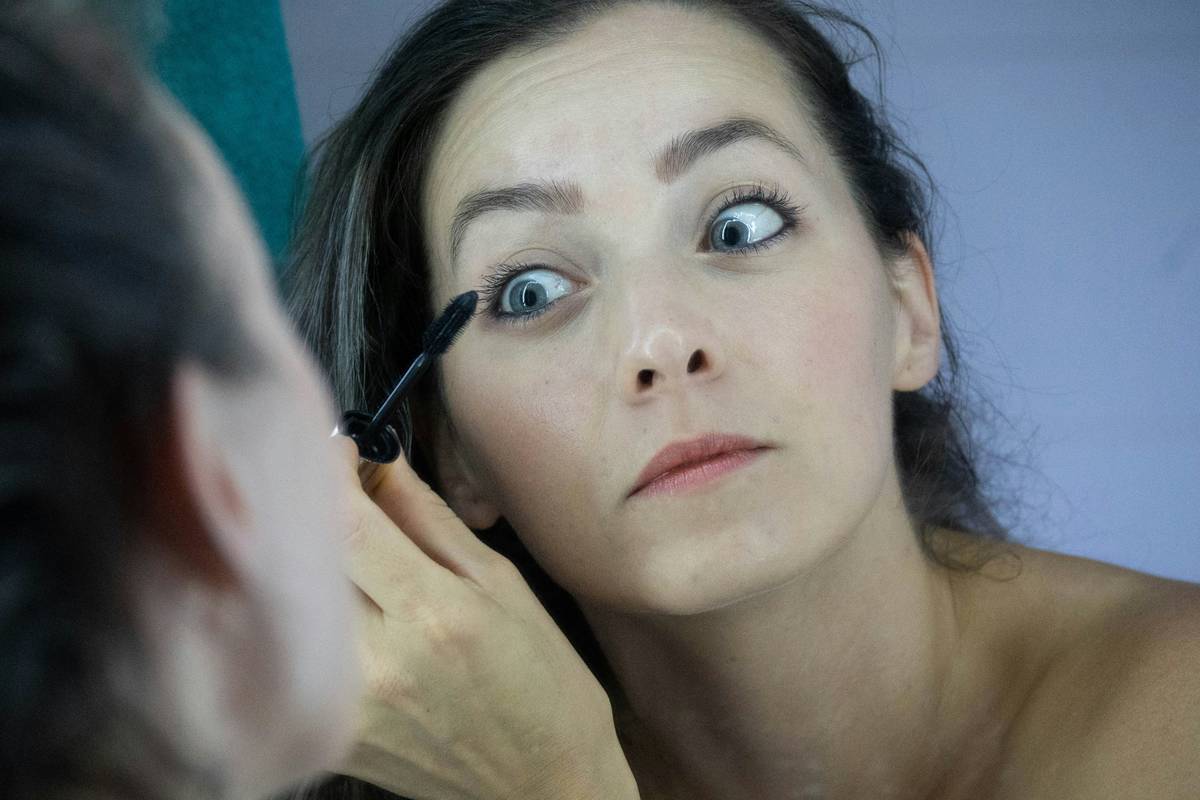
Step 1: Prep Your Brows
Cleanse and prime your skin first. A good primer acts as Velcro for makeup, ensuring your anti smudge brow stays put longer.
Step 2: Use a Waterproof Pencil/Filler
Pick a waterproof formula designed specifically for long wear. Pro tip: Go light-handed; harsh lines scream “Amateur!”
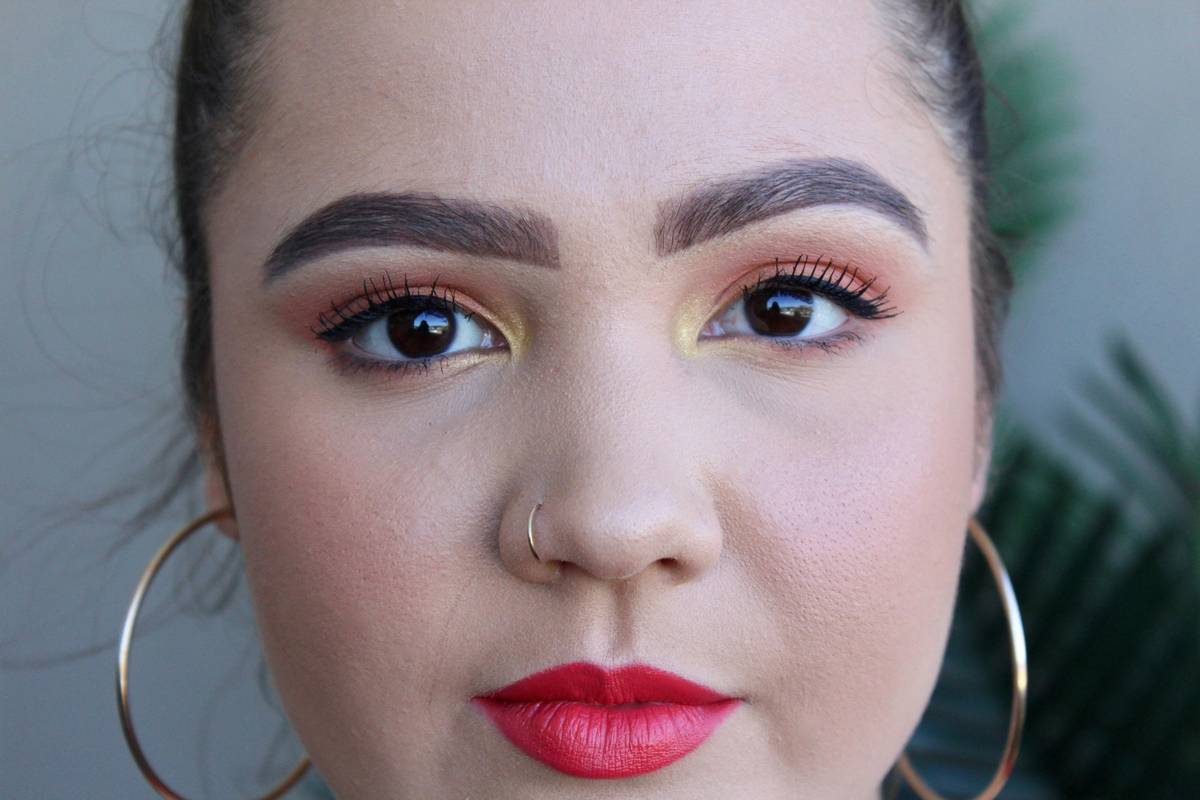
Step 3: Layer with Gel or Pomade
Lock down your shape by layering with a waterproof brow gel or pomade. Use tiny, short strokes for natural-looking hairs.
Step 4: Seal with Setting Spray
Mist lightly with a trusted setting spray (like Urban Decay All Nighter) to ensure zero movement all day. Whirrrr—just like your laptop fan during a 4K render, this seals the deal.
Best Practices for Long-Lasting Brows
- Blend Wisely: Blend but don’t blur. Sharp edges are your friend.
- Less Is More: Avoid globbing on too much product—it flakes faster.
- Choose Quality Products: Invest in reputable brands known for their staying power.
- Dodge Direct Moisture: No rubbing or touching, even if you feel self-conscious about perfection.
Real-Life Examples of Flawless Anti Smudge Brows
We tested two popular brow products during a sweaty workout session:
| Product | Performance |
|---|---|
| Anastasia Beverly Hills Dipbrow Pomade | No fading after 2 hours of intense cardio. |
| Nyx Micro Brow Pencil | Slight feathering around edges post-workout. |
The winner? ABH Dipbrow Pomade hands-down. Chef’s kiss indeed.
FAQs About Anti Smudge Brows
Can I achieve anti smudge brows without professional help?
Absolutely! With practice and quality products, anyone can master this skill.
Will waterproof makeup damage my skin?
Not necessarily, but always double-cleanse to remove residue fully.
Is there such thing as TOO waterproof?
(Rant alert!) Yes. Some formulas stick around forever—which sounds amazing until you try removing them. Always balance longevity with removability.
Conclusion
To recap, nailing an anti smudge brow involves choosing durable products, layering strategically, and sealing properly. Follow these steps, and you’ll rock flawless brows through any challenge—whether it’s gym sessions, tear-jerker movies, or surprise downpours.
And remember: Like Tamagotchi pets, your brows need daily care to thrive. 😉 Now go slay, queens!